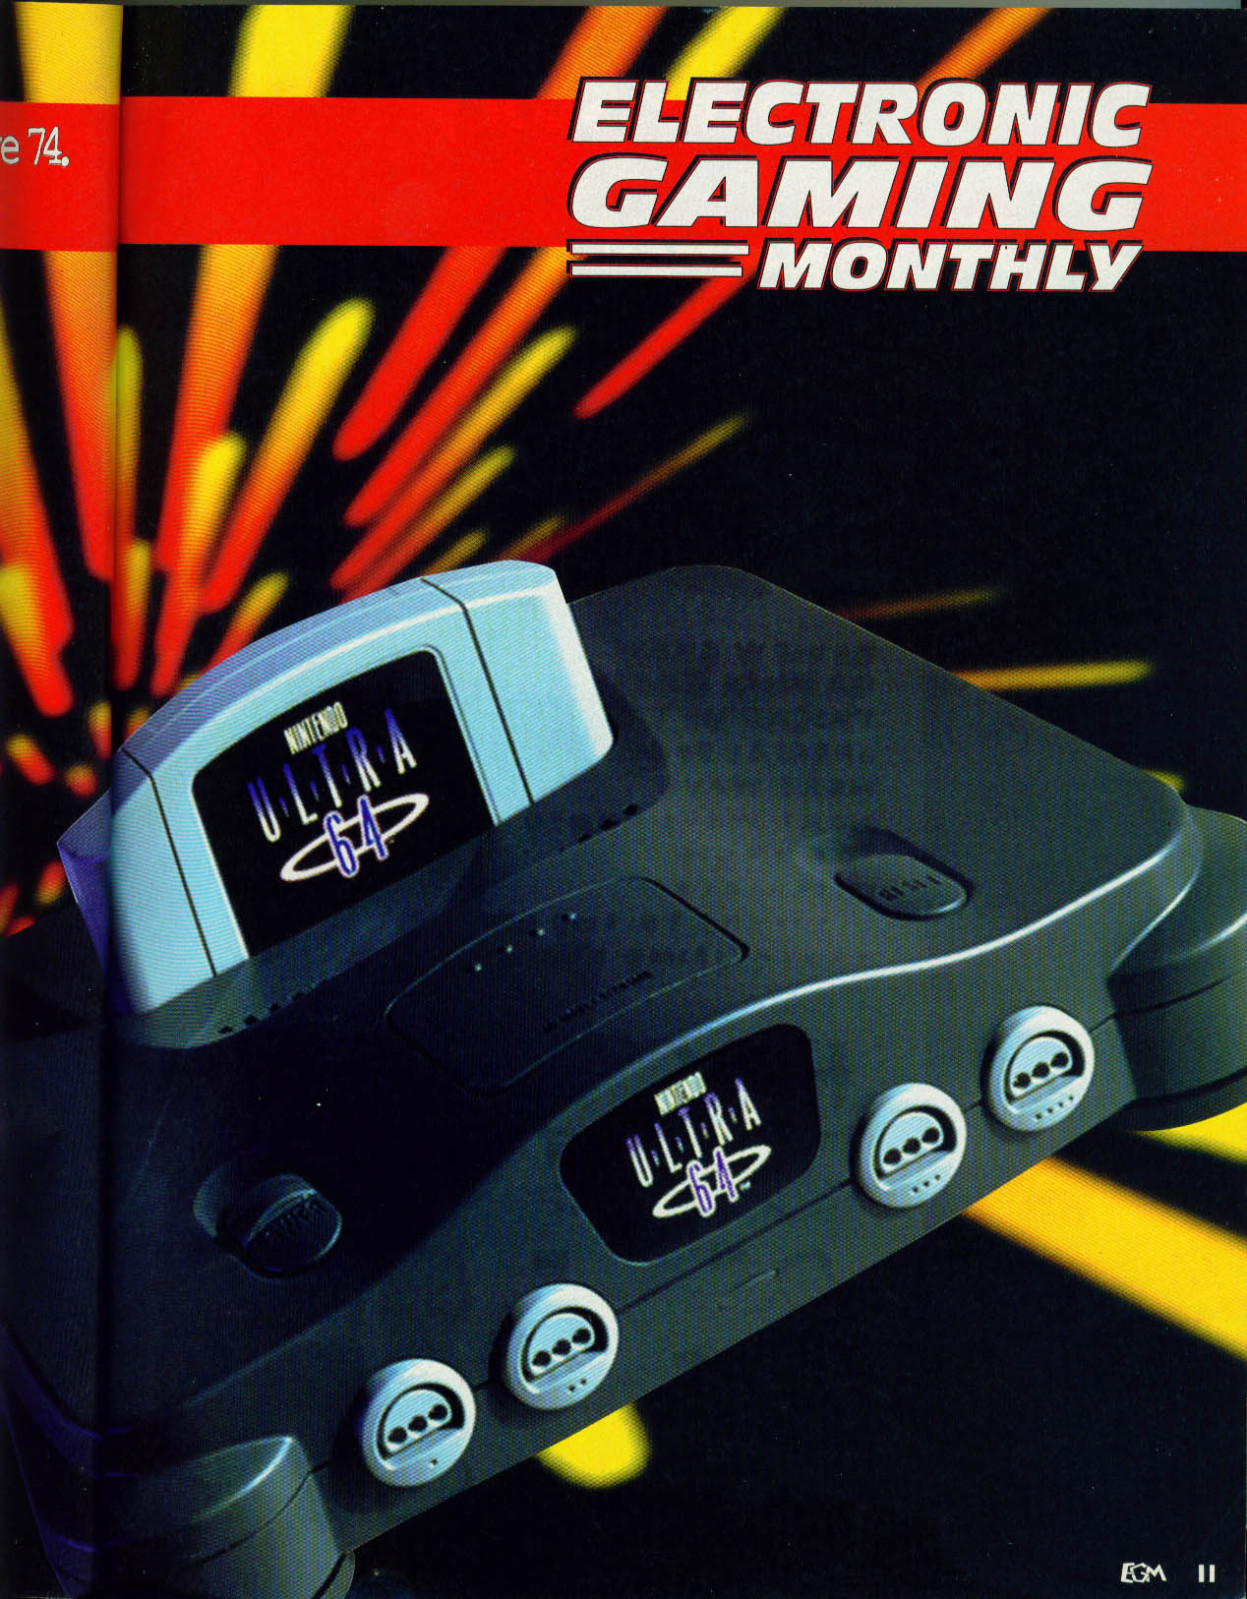
Back to the drawing board: How to make an Ultra 64
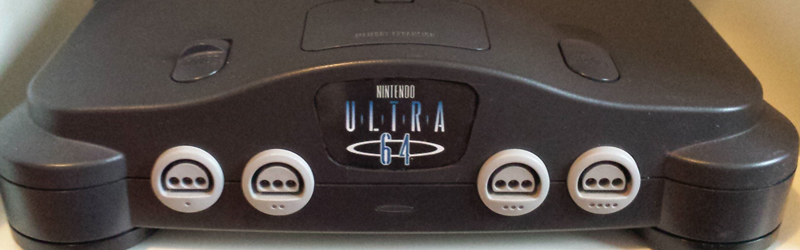
There were quite a few people complaining about the Nintendo 64’s branding upon its release. When it was still known as the Ultra 64 it had a dark, sleek logo which has a lot of contrast when compared to the more colourful Nintendo 64 logo that we know and love. I believe that this is the beginning of what caused another major divide in the segmentation of markets for consoles back in the 90’s. The Sega Mega drive / Genesis was marketed towards an older audience while the SNES was still targeting a younger demographic and the same happened in the next generation with the PlayStation and the Nintendo 64, so the divide between what was being sold to kids and adults widened even more than before. Now, the main reason behind this change was because of the copyright claim by Ultra Games, but I do believe that they did take advantage of the change in name to change the branding of the Ultra 64 as well.
Anyways, on to the topic at hand.
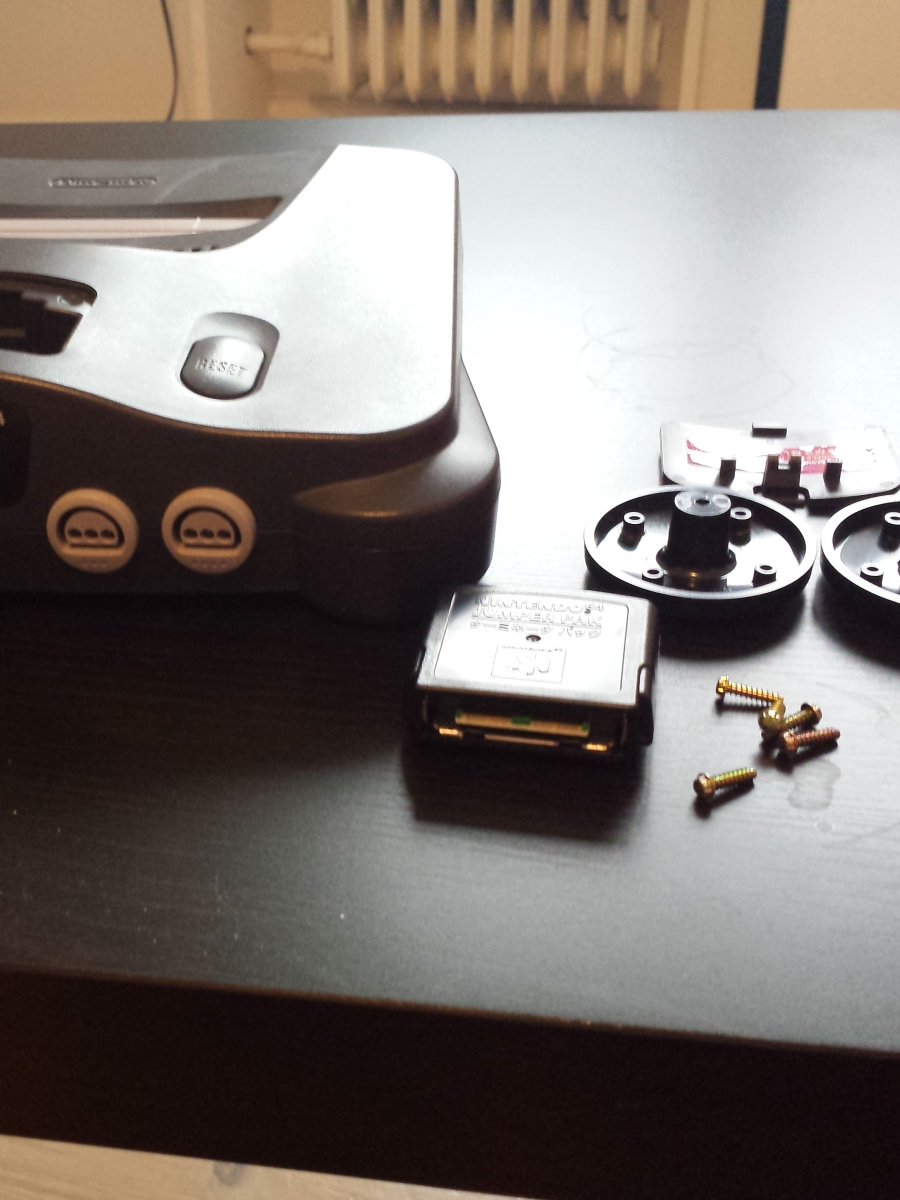
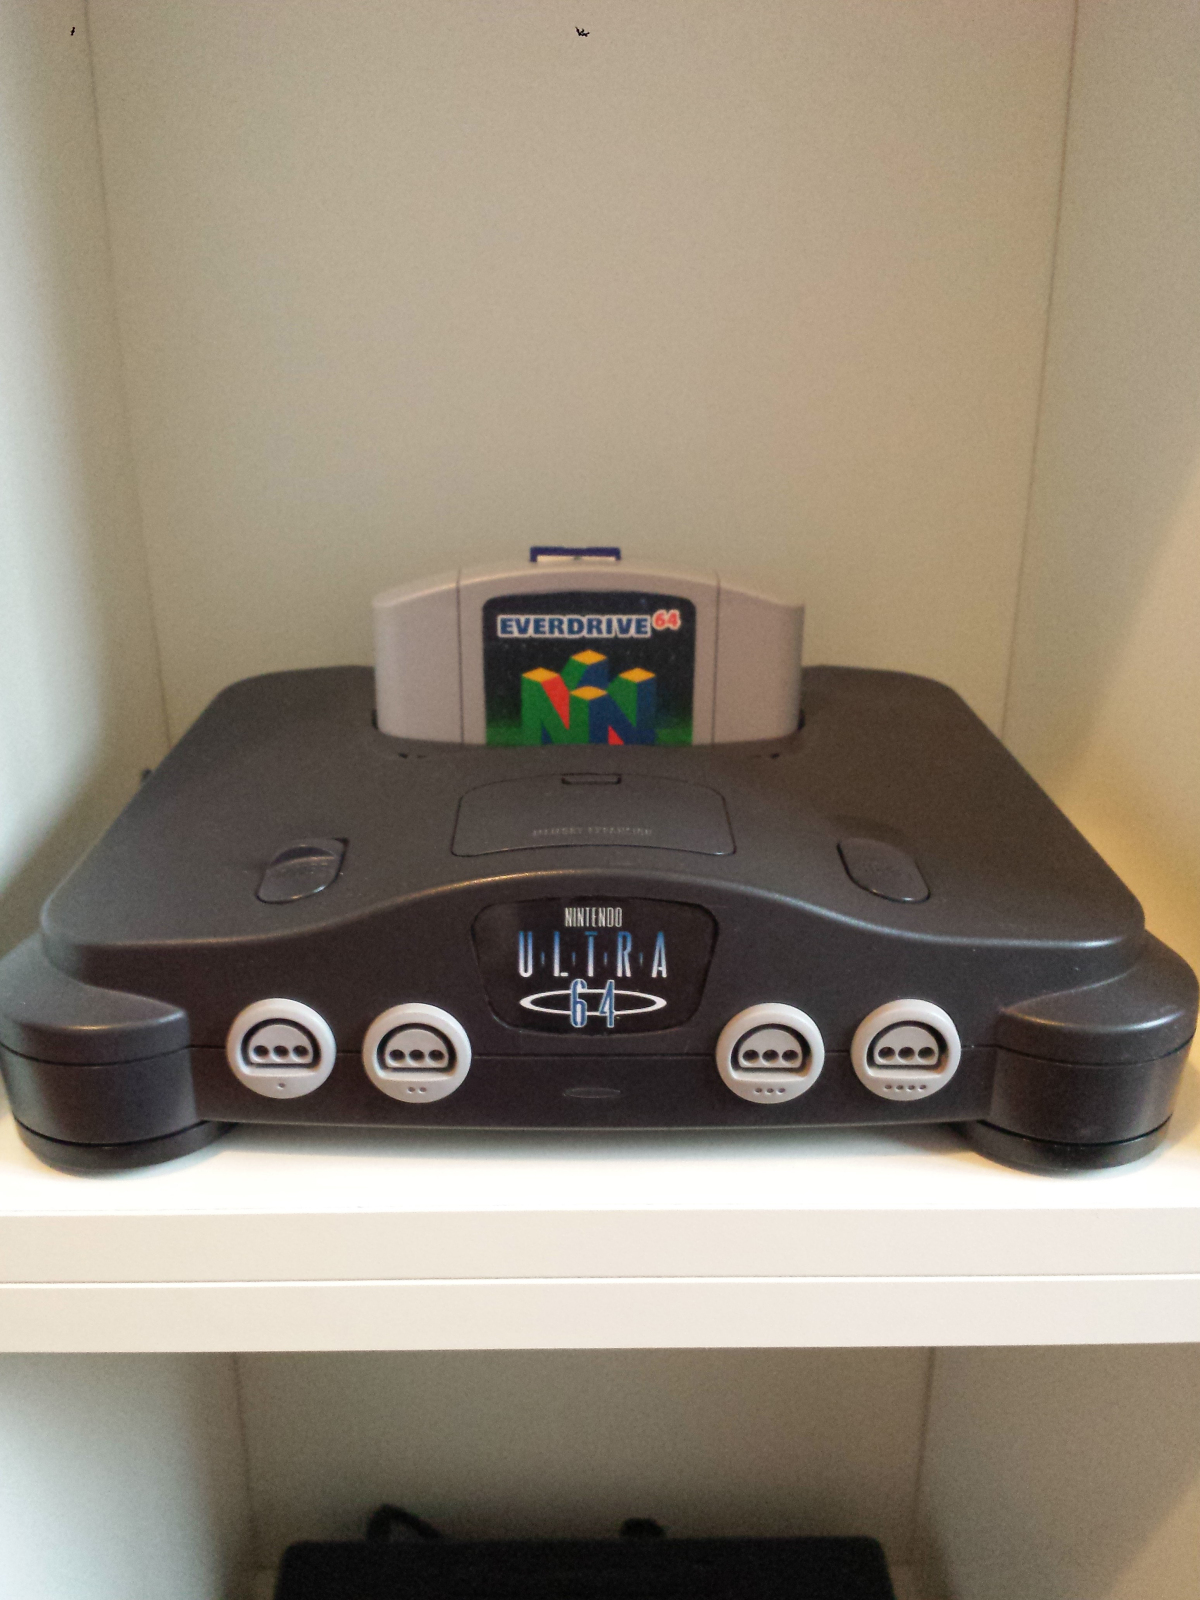
So if you wanted to have an Ultra 64 of your very own but didn’t work in Nintendo’s development team, well you’re in luck. There’s a tutorial by Assemblergames user MadsMaten where he goes through how to make your Nintendo 64 into an Ultra 64. The steps are quite easy actually:
- Open your N64
- Pop out the logo from the front
- Cut out a bit of hard plastic packaging in the same shape of the logo
- Print out the ultra 64 logo &cut it to fit
- Put back together
Quite ingenious actually.