Setting Up Libdragon
There are a few ways to get started with Libdragon development on your PC. A much more comprehensive guide can be found on the official wiki page, but I’ll try to provide a more step-by-step approach to setting up Libdragon here to keep things simple.
Since I’m using Windows as my platform, I’ll be showing the process using that operating system. Again, if you’re using Mac or Linux, check the wiki page. The process should be similar though.
Method 1: Docker (recommended for Windows)
The method that is recommended by the Libdragon development team is to use Docker. Docker is a bit of software that allows you to run ‘containers’, which are self-enclosed virtual machines. It is used to run programs that work consistently on different platforms since the actual environment it runs on is virtualised.
Step 1: Install Docker
Download Docker from the official website and install it.
Docker can run as a command line application, but Docker Desktop can be useful for a more friendly interface.
A few things to note:
- On Windows, you might need to update Windows Subsystem for Linux (WSL) and update it to the latest version.
- If you’re running a VPN, it might interfere with Docker
Once that’s done, you should get something like this:

Step 2: Download the executable
Download the executable for your system. You can get the latest version from the official release page, or the N64 Squid mirror using the password libdrocker.
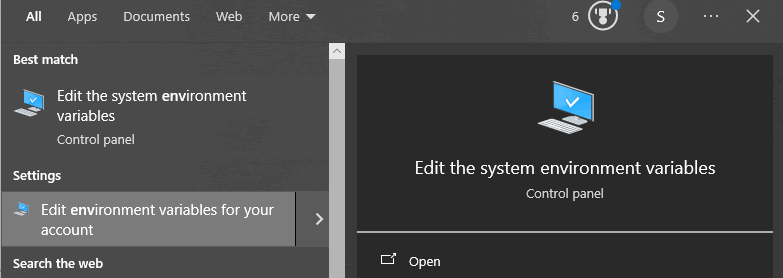
Once you download the ZIP, you need to place it somewhere where your PATH variable can find it. Do do this, put it somewhere safe, and then edit the environment variables by doing this:
- Start
- Type in “Environmental variables” until you get this:
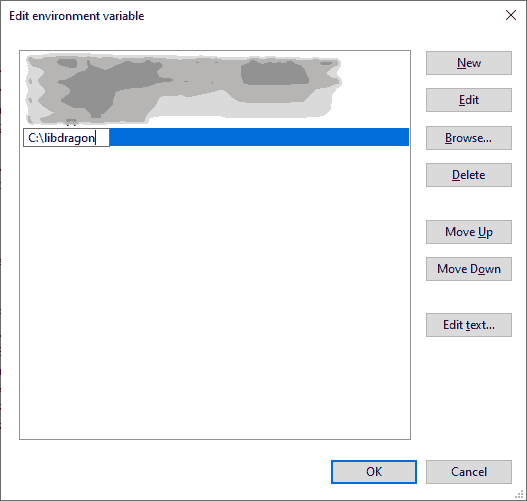
- Edit the environment variable called “Path” or “PATH” for your user (or your system if you want it available to all users)
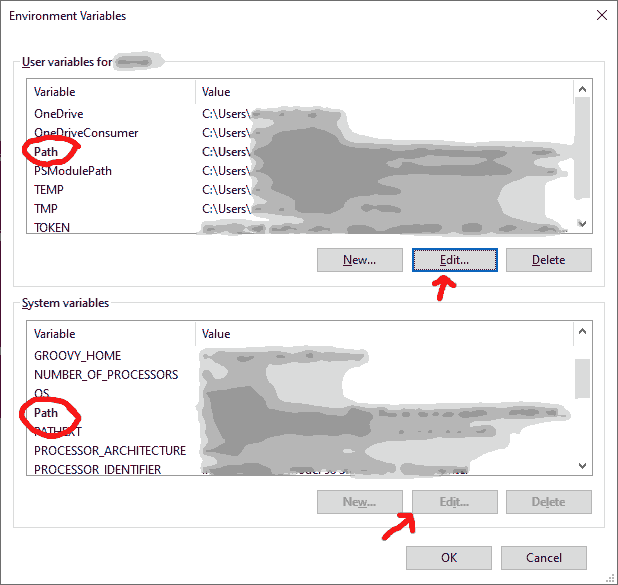
- Add a new entry with the folder where your executable is located
Linux
For linux, just extract the file into /usr/bin/ since that’s where most executables go. If you don’t have admin permissions, just put it somewhere else and edit your $PATH to include it.
Step 3: Initialise a Libdragon Project
Open up your terminal and navigate to your project folder called by using the cd command like this:
cd C:\path\to\your\folder
Then run this command to initialise Libdragon in this folder:
libdragon init
It’ll take a few minutes to download the necessary files, but you’ll get something like this:

Now you should be all set to start developing using Libdragon!
Method 2: Installing the Toolchain (recommended for Linux)
This is my preferred method for running Libdragon on Linux since having Docker just makes it serve as an additional middleman that you need to setup and boot every time you want to work on your project.
Start by getting the DEB or RPM installer for your system and install it. This will install the toolchain to /opt/libdragon and add a variable called N64_INST to your PATH. You can test installation by echoing the variable in a new terminal: echo $N64_INST. For me it wasn’t enough to just open a new terminal window, but rather I had to logout/restart my PC before it worked.
Next, you need to run Libdragon’s build, but first you need to make sure to get libpng working (commands are for Debian/Ubuntu):
- install zlibdev:
sudo apt install zlib1g-dev - Download the libpng source code with
git clone https://github.com/pnggroup/libpng.git cdinto the folder and run these three commands:./configuremake checksudo make install
Then you can clone the Libdragon repo and run setup with these commands:
git clone https://github.com/DragonMinded/libdragon.git
cd libdragon
./build.sh
Note that if you want to use some of the features like OpenGL, you’ll have to run build.sh from the appropriate branch.
Libdragon is now installed! You can now create your project from scratch, or copy one of the samples from the examples/ directory.
Your basic project
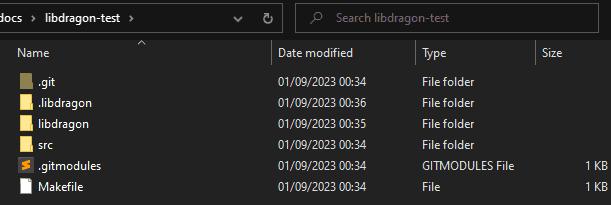
At this point you will be done with setting up Libdragon and have a folder with a Git repository that you can use for version control. There are plenty of guides on how to use Git so I won’t get into much detail here. The main things to note are these:
- .git – The folder containing all the data for your git repository.
- .libdragon – Holds your Libdragon configuration.
- libdragon – The colder containing the Libdragon submodule. Basically, all the source code for Libdragon.
- src – This is where you put your code for your project.
- .gitmodules – Contains information about the submodules your project is using. So far it only has Libdragon in it.
- Makefile – A basic Makefile that contains the instructions for building your ROM.
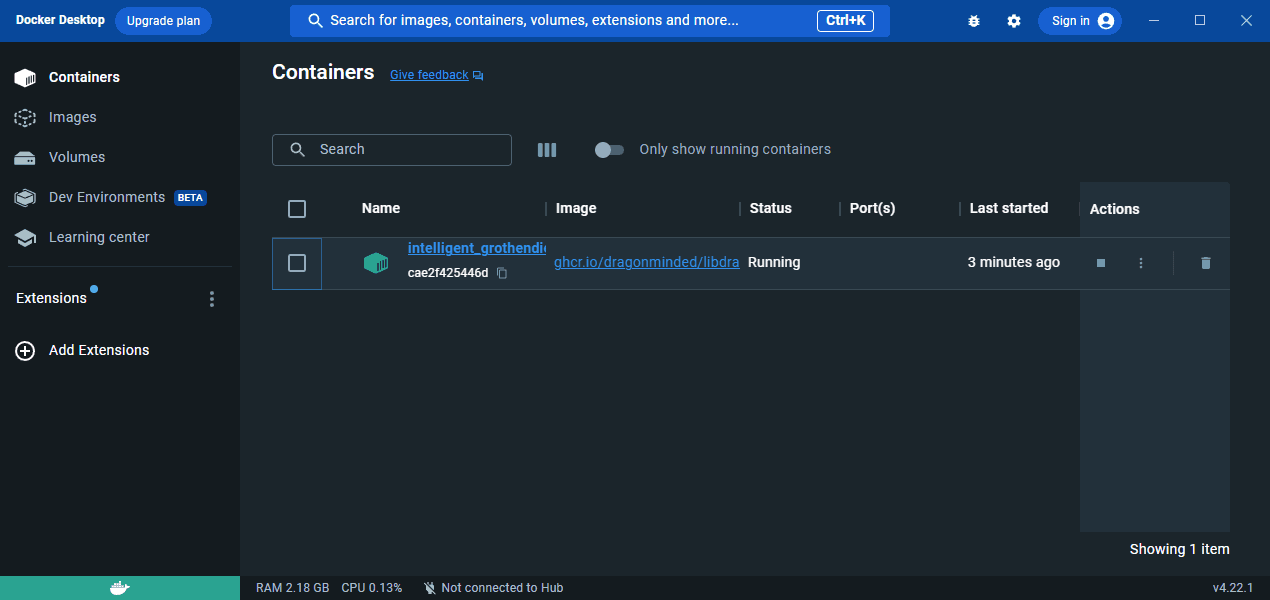
Also, if you look at your Docker Desktop window, you’ll see that there is a Libdragon image set up. The image name is randomly generated.